Lunenberg uses a different and ingenious method for shortrows.
At least – I hadn’t seen this before and, at first, I was mightily confused. I thought I’d write a quick post incase anyone else is as confused as me.
Normally, to make the back a bit longer than the front (because most humans are shaped that way!) you would go back and forth across the back of the garment, using your favorite turning method (wrap and turn or german shortrow seem most prevalent). This would be nape of the neck or just under the completed yoke.
So the back is longer than the front – simple huh?
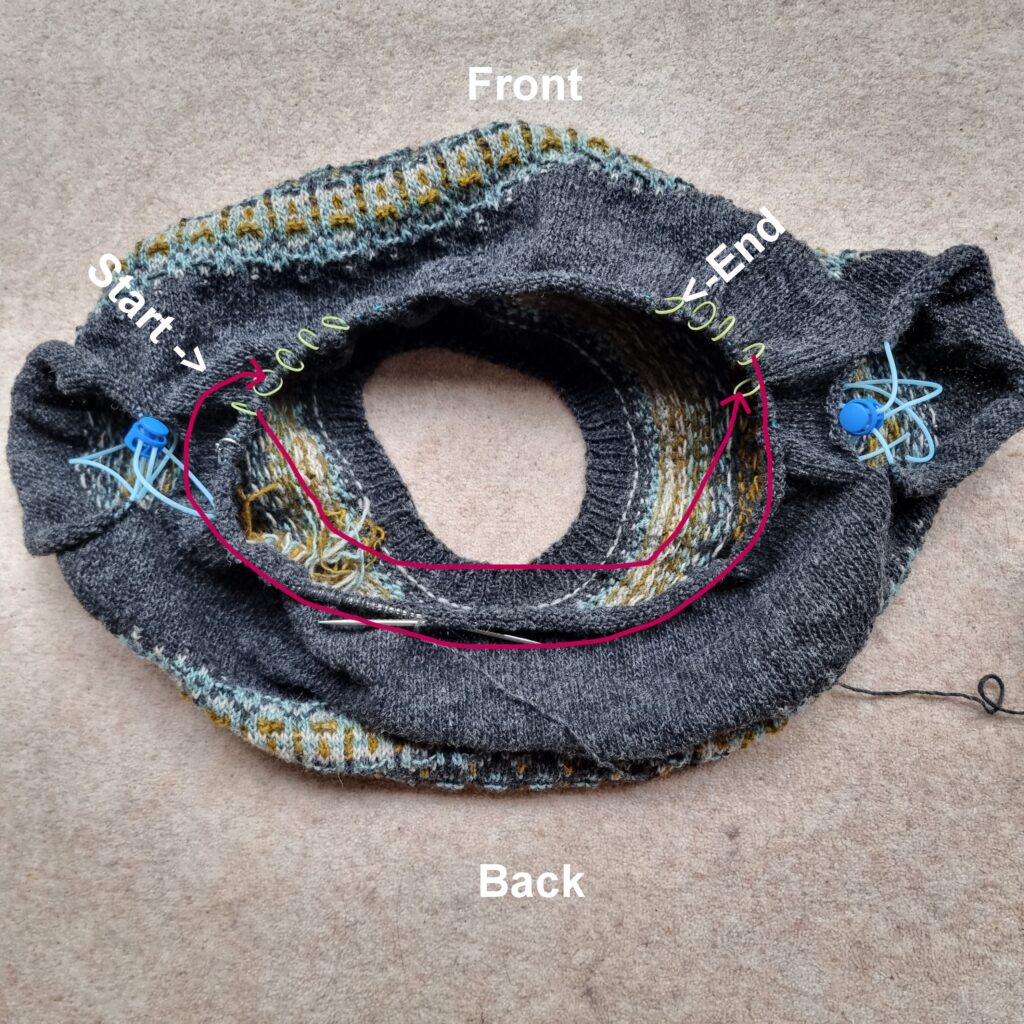
On Lunenberg, the extra “back and forth” rows extend from the front shoulder. around the arm, across the entire back, around the other arm and back to the front. So you knit all the stitches EXCEPT the front.
I was convinced the pattern was wrong. I checked all the comments online and checked for errata. There was no online gnashing and wailing about the shortrows.
So I took a deep breath and followed the well written instructions blindly.
It all worked out perfectly – trust the pattern 😇😁❤️
I put yellow stitch markers in at each “Wrap and Turn”, mainly so I could find them again easily but I think this illustrates nicely how the shortrows are done

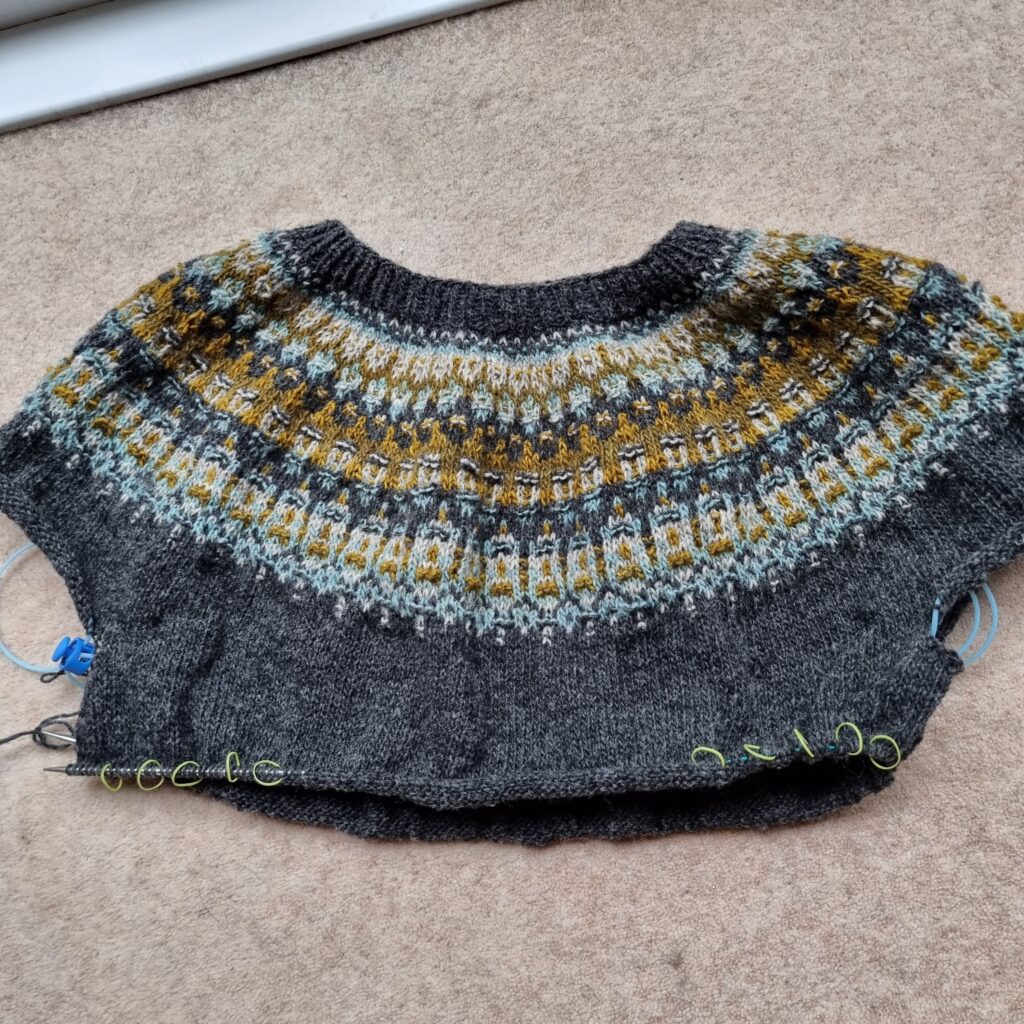
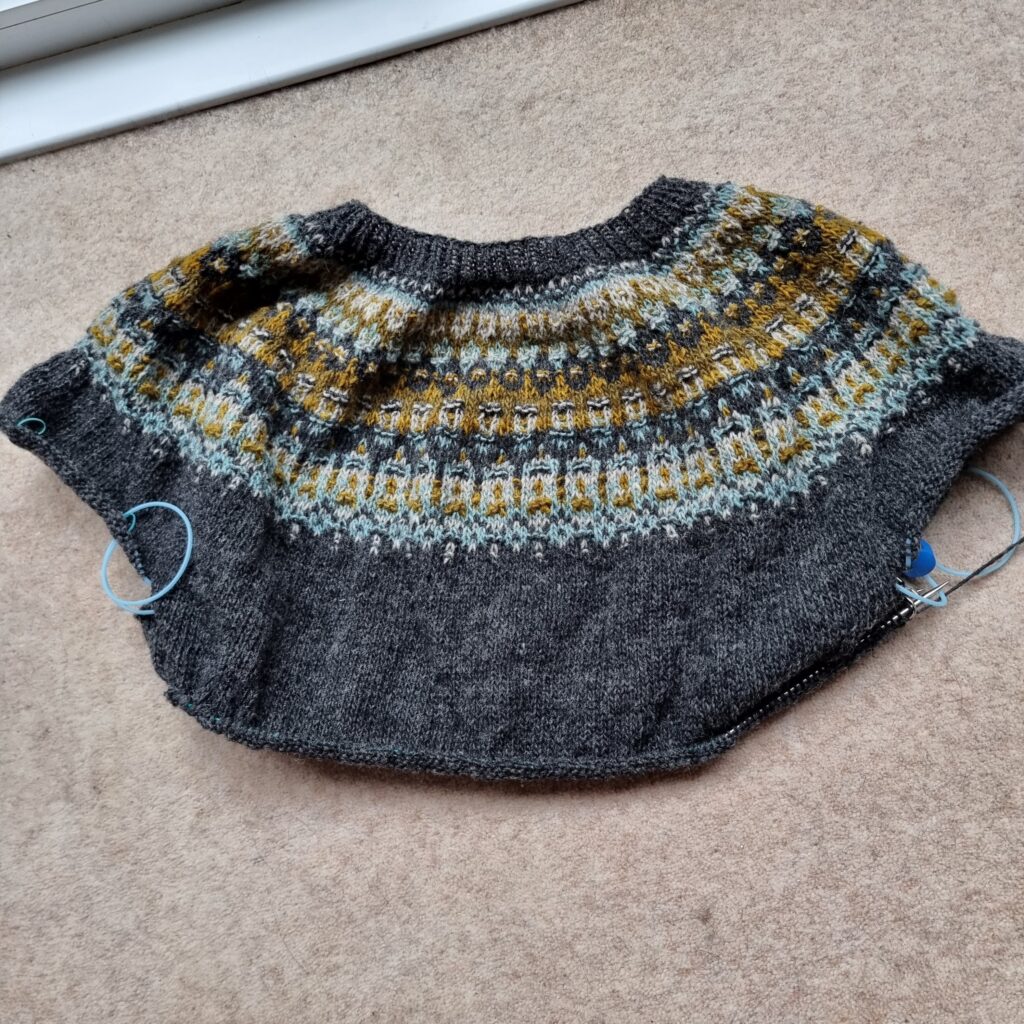
The yoke is done, I’ve slip for the sleeves (on pale blue stitch holders) and I’m now doing 11″ of stocking stitch body – a nice bit of light relief after the yoke and shortrow excitement 😁
Here’s where I am now….


I do that too. I always put a stitch marker at my wrap and turns or I’d never recognize when I got to them.